

Samira stood up from the toilet the way she did everything else, on her own terms, and that was the trouble. She would lean forward, plant one hand on the vanity, push, wobble, and catch the door frame on the way up. I watched it for three days before I said a word. Then I ordered a Medline toilet safety rail and stopped holding my breath twice a day.
Here is what I did not fully appreciate until I had spent 31 years in an outpatient clinic and then two years with my own mother living in my house. The toilet is the hardest transfer in a home. It sits lower than a kitchen chair, it lives in the smallest room, there is usually nothing at hand height to push against, and the whole move asks your hips and knees and one arm to agree at the same moment. A person who walks to the end of the street with a rollator can still come apart at the toilet, because walking and standing up from a low seat are different jobs. The false fixes are everywhere. Push harder. Use the sink. Lean on the wall. Buy a raised seat. None of those put a solid grip at the height your hands actually are, and that is the entire point of a rail.
Just over four pounds of frame that gave her back a quiet morning
The Medline Toilet Safety Rail sits around the toilet on its own, so nothing gets drilled into a tiled wall and nobody leans on the vanity. The arms adjust from 27.5 to 31.5 inches, which means they land where her hands already were. Ours has been used twice a day for two years and it still looks like the week I bought it.
Amazon Check Today's Price on Amazon →Step 1: Measure the toilet and the floor before you buy anything
Two numbers decide whether a safety frame works in your bathroom: the height of the rim with the seat down, and how much clear floor sits in front of the bowl. Our upstairs toilet measures about 15 inches, which is normal for a 1950s colonial and roughly three inches lower than the newer ones at the clinic. The Medline frame is listed for toilets 27.5 to 31.5 inches long, 19 to 22 inches wide and 27.5 to 31.5 inches tall, with 18 to 24 inches between the arms. Before I ordered, I put a tape on the floor and found the vanity corner left me just enough clearance on one side. Measure that gap first. A frame you have to squeeze past is a frame somebody will end up stepping over at two in the morning.
The second number is the person. Ask your own doctor or physical therapist what seat height makes sense for the hips and knees you are working with, because no rail can fix a seat that is the wrong height for the body using it. Our toilet stayed at the height it was built. We adjusted the arms to her and left it alone. That was right for Samira. It is not right for everyone, and no product page can tell you which case you are in.
Then check the weight rating and plan around the lower number. The listing title says 250 lb capacity. The manufacturer's spec sheet on that same page lists a 300 pound maximum weight recommendation. As a shopper that gap does not fill me with confidence, so I would assume 250 and be done with it. Samira is 132 pounds. If the person you are buying for sits nearer that ceiling, call Medline or ask their therapist before assuming a rail is enough on its own.
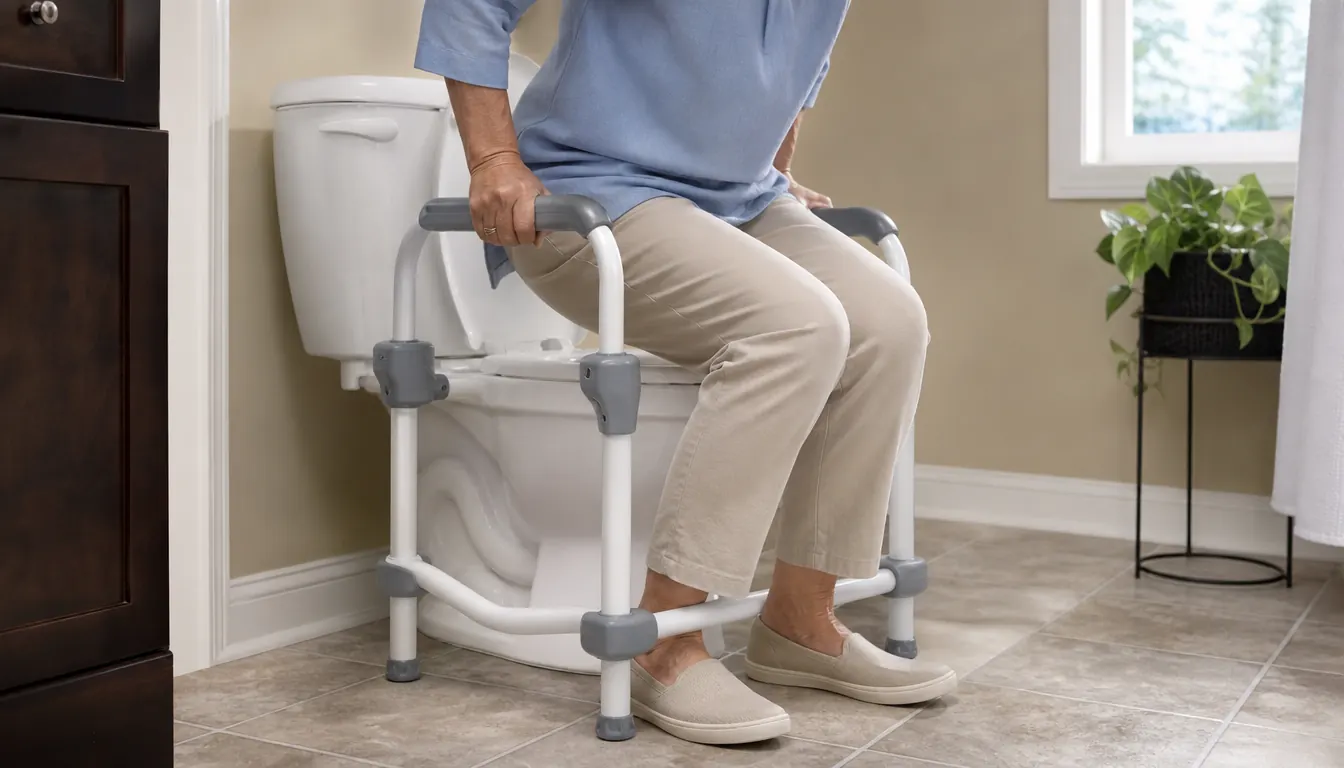
Step 2: Set the arm height to the hand, not to the ceiling
The arms adjust from 27.5 to 31.5 inches, and the honest way to pick a setting is to sit down with the frame around you and notice where your hands land when they hang naturally at your sides. You want the arm rest just under the heel of your hand, wrist straight, elbow bent a little. If the bar is too high you end up pulling yourself up rather than pushing, and your shoulders climb toward your ears on every attempt. If it is too low you round your back to reach it, which is the exact motion you were trying to avoid.
Two things I got wrong in the first week. I set both arms high because it looked tidier, and then watched her shoulders rise on every stand. And I did not get the two sides level with each other, so one arm sat a half inch off and the whole frame rocked on the tile. Level the sides first, then sit and stand three times before you call it finished. At 4.4 pounds it is easy to shift, so nudging it a quarter inch to sit flat against the wall is a two minute job, not a weekend project.
Step 3: Practice the sit before you practice the stand
Everyone wants to rehearse the stand up. The fall risk is in the sit down. Samira's habit was to turn, aim, and drop the last few inches, which is a small controlled fall onto a hard rim. The frame changes that. You back up until you feel the arm rest against the back of your thigh, put one hand on each arm, and lower yourself slowly, using your arms as brakes on the way down. That is the whole technique. It feels awkward for about four days and then it is just how you sit.
Do it in daylight for the first several tries with someone standing outside the doorway rather than hovering inside it. I stood in the hall with one hand on the frame of the door and said nothing, which took more effort than any lift I did in 31 years of clinic work. If the person you are helping has had a hip replacement, check with the surgeon's office about movement precautions before you start practicing, because the rules differ by approach and by surgeon.
Practice also buys you trust, and trust is the part nobody budgets for. Samira did not want a rail around the toilet. She thought it made the bathroom look like a hospital room. What changed her mind was the first stand up where she did not have to hunt for the door frame with her hand. She still does not love how it looks. She uses it every single time.
Step 4: The stand-up sequence, in the order that works
Feet flat and slightly apart, both under you, not tucked behind the seat. Scoot forward until your weight is on the front half of the seat. Nose over toes, which means leaning your chest forward until your head is past your knees. Both hands on the arms, elbows slightly bent. Push down through the arms and stand, then pause before reaching for anything else. The pause is not optional and it is not weakness. It is where your blood pressure catches up with the rest of you.
Order matters more than effort. People who struggle usually lead with the hands and try to pull themselves upright, or they drive through their feet while still leaning back, which pushes them down and back instead of up. Arms first, then legs, then the pause. Samira counts it out loud sometimes, mostly to needle me, but the counting is a large part of why it works.
One caution from the clinic that I will repeat, because it is the one that gets people hurt. If standing up makes a person dizzy, or they cannot manage it without a hand on the wall, a rail is not the whole answer. That is a conversation with a doctor or a physical therapist about strength, blood pressure or medication. A rail is a tool, not a treatment. I say that as a nurse, not as a daughter who would rather not think about it.
Step 5: Fix the rest of the room so the rail is not the only thing working
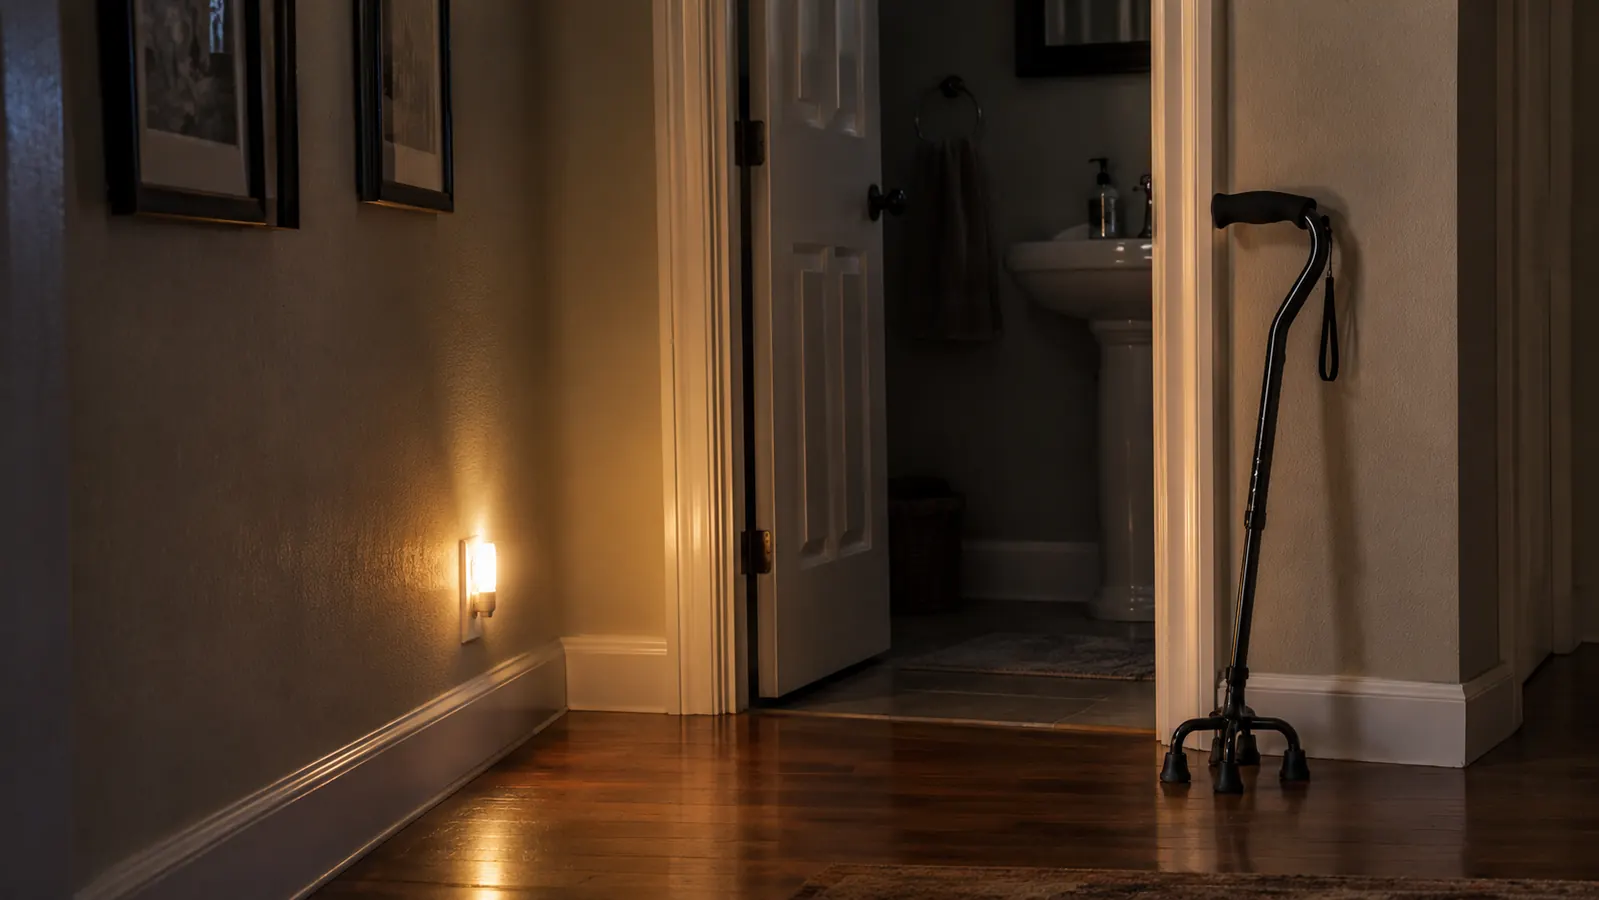
Light first. A person standing up in the dark at two in the morning is not following any sequence, they are guessing. We put a small plug in light in the hallway outside the bathroom door so the floor is visible before a foot lands on it. Keep the path from the bed to the bathroom clear of the area rug edges, stray slippers and the laundry basket that migrates. And keep the toilet paper within reach without twisting, because a twist at the wrong moment is how a good stand up turns into a bad one.
Downstairs we have a wall grab bar in the half bath, which is a different solution for a different room. Upstairs we have the frame. If you can have both, good. If you have one bathroom and one person who needs help, remember that wall mounted bars want studs or proper anchors, and a rental wall will not always take them. The freestanding frame is what we could do in a house we own without opening up the tile.
Then decide who adjusts it and who does not. Samira wants to keep doing this herself, and the rail is how she gets to. My brother Karim is here on Sundays and he leaves the setup alone, because the last thing you want is three people setting the arms to three different heights. One person sets it. Everyone else keeps their hands off it.
What Else Helps
A raised toilet seat and a safety rail solve different halves of the same problem, and I have watched people buy the wrong half. A raised seat shortens the distance you have to travel. A rail gives you something to push against and something to steady yourself with. If the trouble is height, you may need the raised seat. If the trouble is balance and arm strength, you need the rail. Plenty of people need both, and the two do not always fit together cleanly, so measure before you stack them. I would rather you spend a week measuring than a month returning.
The other things that earned a permanent place in our house: a handheld shower head for the transfer bench upstairs, a quad cane that stands on its own beside the armchair so it is never on the floor, and a bed assist bar so the morning starts from something solid instead of from a soft mattress edge. None of those replace the rail. They just mean the rail is not being asked to do a job it was never built for, which is how equipment gets blamed for problems it did not cause.
And write the sequence down somewhere for the first month. I taped an index card inside the medicine cabinet with six words on it: feet, scoot, nose, hands, push, pause. Samira was insulted by the card and then quoted it back at me two weeks later. That is usually how it goes.
Just over four pounds of aluminum, set at the height her hands already were, and she stopped catching the door frame on the way up.
The one thing in that bathroom I would buy again tomorrow
If you are going to change one thing this week, change what her hands land on. The Medline rail sits around the toilet, adjusts to the hand rather than to the room, and holds still while someone pushes. Two years of twice a day use in our house and it has not loosened, rocked, or worn through the powder coating.
Amazon Check Today's Price on Amazon →